
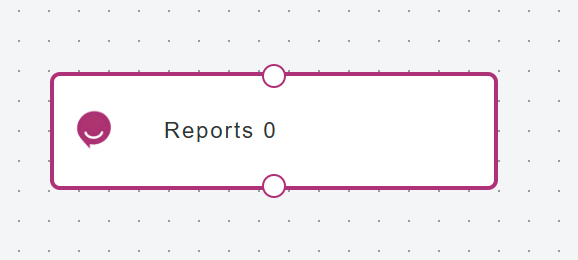
Reports
In Ziwo, connectors are a critical part of creating workflows, especially when integrating external systems or triggering actions across different platforms. They allow you to connect the Ziwo platform with other services and tools to enhance the automation of your processes.
Here’s an overview of connectors within a Ziwo workflow:
Purpose of Connectors:
- Connectors in Ziwo workflows allow you to integrate external systems like CRMs, email services, databases, SMS gateways, and more.
- They act as bridges between Ziwo and third-party services, enabling data exchange and triggering specific actions.
Types of Connectors: - API Connectors: Allow for custom integrations with other platforms using APIs.
Third-party Connectors: Ziwo may have pre-built connectors for common platforms like Salesforce, Zendesk, or other CRM systems. - Webhooks: Used to send real-time data from Ziwo to an external system.
How Connectors Work in a Workflow:
- When you create a workflow, you can add steps that utilize connectors to send data or trigger events in external systems based on certain conditions.
- For example, after a call is completed in Ziwo, you could set a connector to send customer information to a CRM for follow-up.
- Using Connectors in Workflow: In the workflow builder, you can typically select the type of connector to add, configure it with the necessary API keys or credentials, and set up actions like sending data, making requests, or receiving responses from the external system.
- Conditional logic can also be applied to ensure that connectors are only triggered when specific conditions are met (e.g., certain tags on a customer profile or after a particular time threshold).
Customizable Workflows: - You can also define what data should be passed through the connector, customize triggers, or even include delays if needed.
Benefits of Connectors:
- Automation: Automates manual tasks by triggering actions without human intervention.
- Data Flow: Facilitates the smooth flow of data between systems, keeping information synchronized.
- Efficiency: Reduces time spent on repetitive tasks and ensures seamless operation between platforms.
Here’s a step-by-step guide to setting up a connector in a Ziwo workflow:
Step 1: Access Your Ziwo Account
Log into your Ziwo account and go to the Workflow section.
Step 2: Create or Edit a Workflow
- If you're creating a new workflow, click on the Create Workflow button.
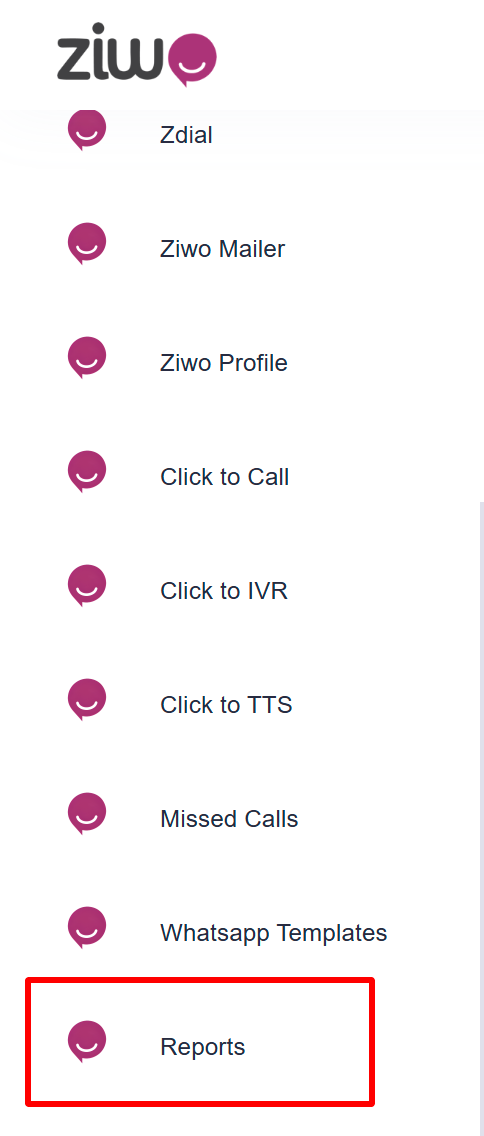
- Go to the connectors and select the report connector from the list.
Step 3 : Add a Connector Action
- Once inside the workflow editor, you’ll see different types of actions that can be added to the workflow.
Step 4 : Configure the Connector
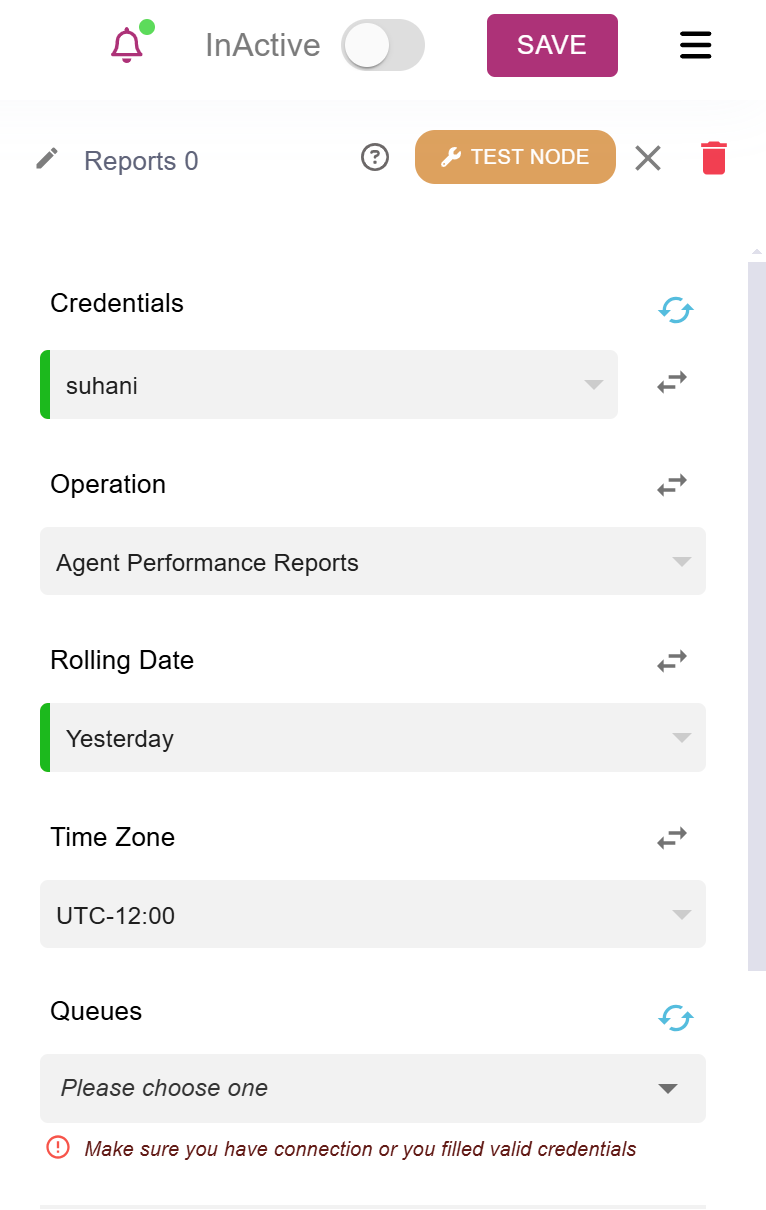
1. Credentials
Credentials refer to the necessary authentication information required to access specific resources or services. For generating reports or accessing APIs (such as connecting with a CRM or generating agent performance reports), you may need to provide authentication details:
- API Key: Used for accessing Ziwo or other third-party systems.
- Username/Password: Required for authentication with some external systems or platforms.
- OAuth Tokens: Used for secure integration with platforms that use OAuth for authentication (e.g., Salesforce, Zendesk).
2. Operation
The operation refers to the type of action you're performing within the workflow or reporting section. In the context of Agent Performance Reports, the operation could be:
- Generating Reports: You may need to choose the operation that generates specific performance metrics, such as:
- Total calls answered
- Average call handling time
- First call resolution rates
- Exporting Data: If you're exporting report data, the operation could focus on downloading or sending data to another system.
3. Agent Performance Reports
Agent Performance Reports give insights into how individual agents are performing based on various metrics. You can configure reports to track:
- Number of calls handled
- Average call duration
- Customer satisfaction scores
- Hold times, etc.
You’ll typically want to filter by the specific agent, date, or team to analyze performance. You may also set filters or conditions for performance tracking, such as:
- Agent ID or Team ID
- Call outcome (successful, abandoned, etc.)
4. Rolling Date
A rolling date refers to a dynamic date range for reporting. Rather than selecting a static date range (like "January 1 to January 31"), a rolling date range updates automatically to the current date and time. For example:
- Yesterday: If you select "Yesterday" for your rolling date, the report will always show data from the previous day. This is useful for getting daily performance data without manually adjusting the date.
5. Time Zone
Time zone settings are crucial to ensure that all data aligns with the correct local time of your team or business. In your case, you’ve mentioned UTC-12:00. Setting the correct time zone ensures that:
- Calls and activities are tracked according to the local business hours.
- The time on the reports reflects the correct region, especially if you operate in multiple time zones.
- API Connector:
- Enter the API URL, and the required HTTP method (GET, POST, PUT, DELETE).
- You will need to provide any necessary API keys, tokens, or authentication credentials.
- Map the fields between Ziwo and the external system (e.g., passing customer data such as name, phone number, etc.).
- Third-Party Connector:
- Select the third-party system you want to integrate with (like Salesforce or Zendesk).
- You will need to authenticate using API keys or OAuth credentials.
- Follow the setup instructions specific to the third-party integration.
- Webhook:
- Enter the Webhook URL where you want to send data.
- Choose whether the request should be a GET or POST.
Step 5: Set Up Trigger Conditions (Optional)
You can add conditions to control when the connector is triggered:
- For instance, only trigger the connector when a customer’s call duration exceeds a certain time or when a specific tag is assigned.
- Conditions are typically defined in the form of if/then logic.
Step 6: Test the Connector
Before saving the workflow, it's a good idea to test the connector:
- Run a test in your workflow to ensure that the connector is properly triggering the desired action in the external system.
- Check the external system (e.g., your CRM, email platform, or webhook listener) to confirm the data is being sent correctly.
Step 7 : Save and Deploy the Workflow
Once you're satisfied with how the connector is set up and tested, save your workflow.
- If the workflow is live, deploy it to start automating actions with the connector.
Updated over 1 year ago