
Scopes
**Setting OAuth 2.0 Scopes
**OAuth 2.0 scopes are critical as they define the level of access your application will have to the user's data. You can customize the access to specific features such as creating folders in Google Drive or managing email drafts.
-
Adding and Removing Scopes
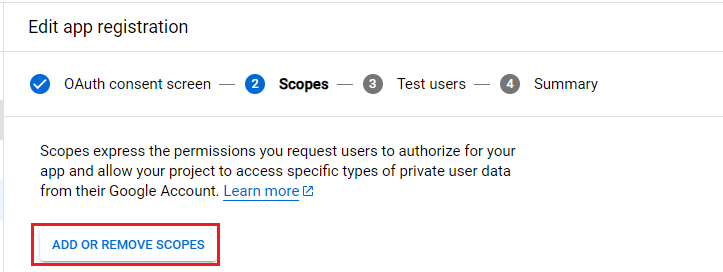
- Edit Application Registration:
- On the OAuth consent screen, you can add or remove scopes as needed.
-
Choose Your Required Scopes
- Select Scopes: Review the list of available scopes and choose the ones relevant to your application's functionality.
- Click the checkmark button next to each scope you wish to add.
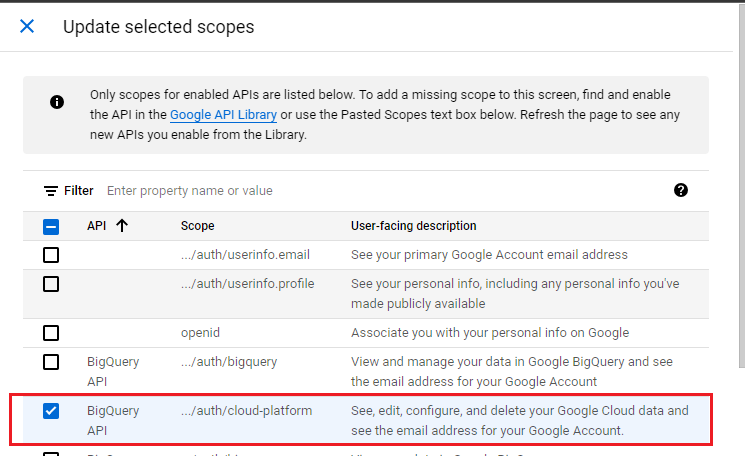
Note: The number of available scopes will depend on the APIs and services you have enabled.
-
Updating the App with Scopes
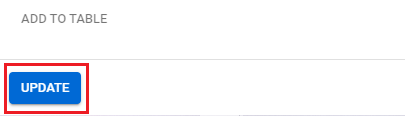
- Finalize Your Scope Selection:
- After selecting the necessary scopes, scroll down and click on Update to apply your changes.
-
Save Changes
- Continue Through the Setup:
- Scroll down again and click Save and Continue to move to the next step.
-
Test Users
- Add Test Users (if applicable):
- If you're testing the application with specific users, you can add their email addresses in this section.
Click Save and Continue.
-
Summary Tab
- Review and Navigate Back:
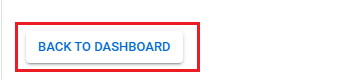
- Once you reach the Summary tab, review your configurations.
- Scroll down and click Back to Dashboard to return to the main menu of your Google Cloud project.
Next Steps
Now that you have set up the OAuth consent screen and defined the required scopes, you are ready to finalize your credentials and integrate them with the Ziwo platform.
Updated over 1 year ago